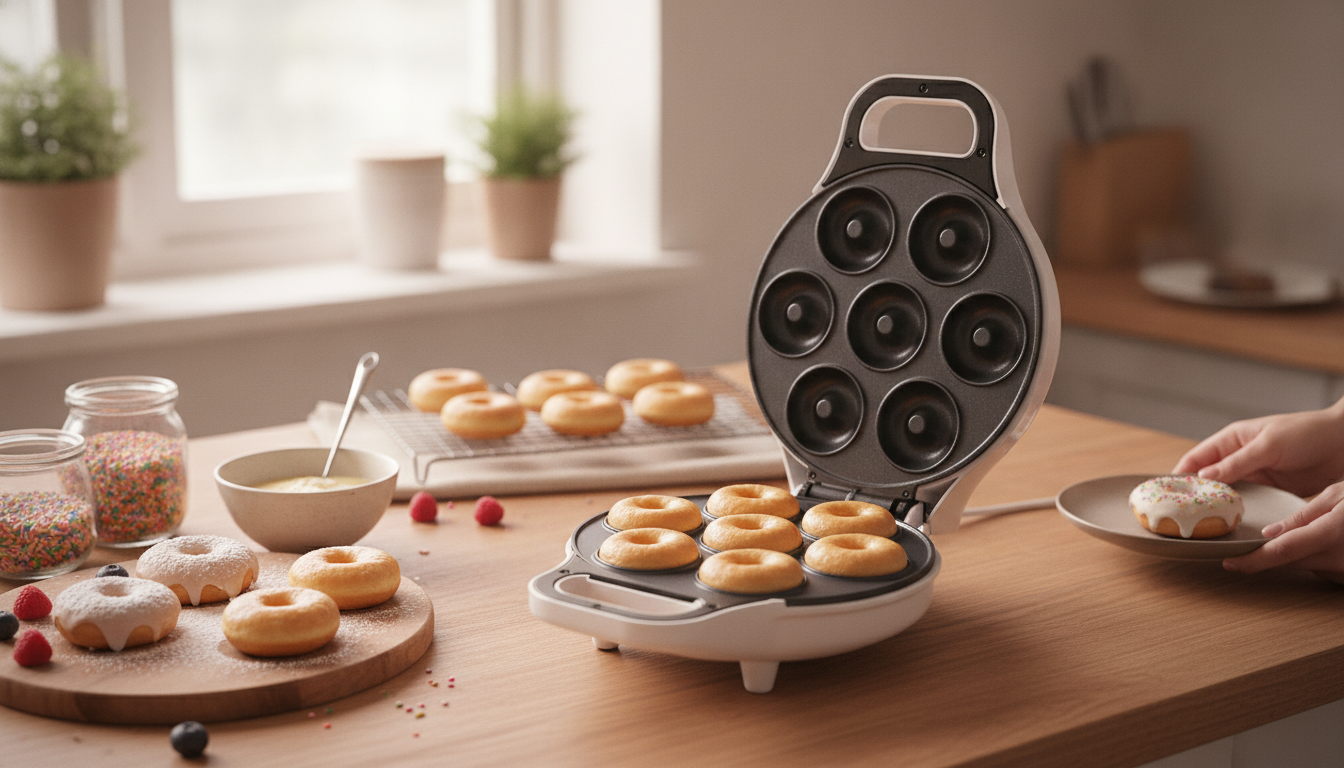
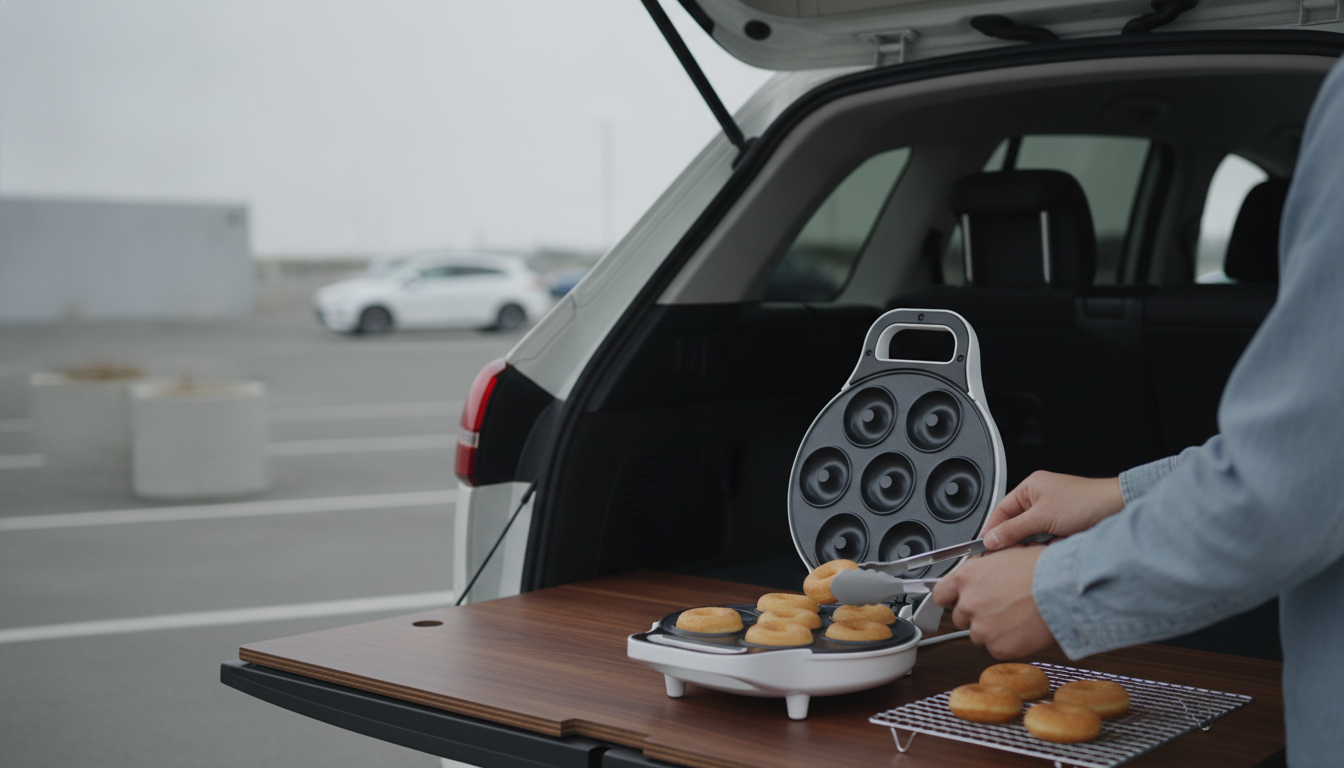
A compact donut maker can turn simple batter into warm, cake-style mini donuts in minutes—without deep frying. It’s an easy way to make a quick snack, a brunch add-on, or a kid-friendly dessert with far less mess than a pot of oil. Below is a practical guide to what these machines do best, how to get your first batch right, and how to keep results consistently golden and clean.
What a Mini Donut Maker Does Well
Mini donut makers shine when you want fast, portion-friendly treats that feel special without a lot of setup. They’re designed for cake-style donuts (think tender crumb and a lightly crisp exterior), not the chewy, airy bite of a yeast-raised fried donut.
- Makes small, cake-style donuts with a tender crumb rather than yeast-raised, fried donuts
- Nonstick plates help release donuts cleanly and reduce the need for heavy greasing
- Quick heat-up and short cook times make it practical for snacks, brunch, and kid-friendly desserts
- Less mess than frying: no hot oil, splatter, or oil disposal
- Works for sweet batters (vanilla, chocolate, pumpkin) and savory ideas (cornbread-style, cheesy bites)
Because you’re skipping deep frying, cleanup and safety are simpler. Basic cooking safety still matters, especially around heat and cords—NFPA’s cooking safety guidance is a helpful reminder for smart kitchen habits: Kitchen Fire Safety (NFPA).
Quick Start: From Batter to First Batch
Most “first batch issues” come from rushing preheat, overfilling, or opening the lid too early. A steady routine fixes nearly all of that.
- Place the machine on a stable, heat-safe counter with space around the vents
- Preheat until the indicator shows it’s ready (times vary by model and room temperature)
- Lightly grease the plates on the first use (or whenever release starts to stick)
- Fill each cavity about 2/3 full to avoid overflow and keep donut rings defined
- Close the lid gently; cook until set and lightly browned
- Remove with a silicone or wooden tool to protect the nonstick surface
- Cool briefly on a rack before glazing so coatings set instead of sliding off
Mini Donut Maker Timing Guide (Typical Ranges)
| Step |
What to look for |
Approx. time |
| Preheat |
Ready light or steady temperature |
2–5 min |
| Cook per batch |
Edges set; tops spring back lightly |
2–4 min |
| Rest before coating |
Steam settles; surface dries slightly |
1–3 min |
| Cool for storage |
No warmth trapped in container |
10–20 min |
Batter, Texture, and Donut Shapes That Turn Out Best
Mini donut cavities are small, so batter behavior matters. A slightly thicker, cake-style batter typically forms the cleanest rings and the most even crumb.
- Cake-style batters are ideal: thicker pancake batter consistency usually fills rings cleanly
- If donuts are pale and dry: batter may be too thin or cook time too long; thicken slightly or shorten cook time
- If donuts overflow: reduce fill level and avoid leaveners that are too aggressive for the cavity size
- For even browning: let the unit fully preheat and avoid opening the lid early
- For flavor variations: add zest, cocoa, spices, mini chips, or finely chopped nuts; keep mix-ins small to prevent sticking
A quick workflow tip: transfer batter to a piping bag or a zip-top bag with the corner snipped. It’s cleaner than spooning and makes it easier to hit that “about 2/3 full” target across every cavity.
Nonstick Care and Cleaning Without Damaging the Plates
Nonstick performs best when it’s treated gently and kept free of baked-on residue. If you’re curious about how food-contact materials are regulated, the FDA overview is a solid reference: Food Contact Substances (FDA).
- Unplug and let it cool before cleaning; wipe plates with a damp cloth or sponge
- Avoid metal forks, knives, or abrasive pads that can scratch nonstick coatings
- If batter bakes on: lay a warm, damp paper towel on the closed plates for a few minutes, then wipe clean
- Skip aerosol cooking sprays if they leave residue; use a small amount of oil or butter on a brush instead
- Store with the lid gently closed; don’t clamp tightly if it compresses the plates
If sticking gradually appears over time, it’s often not “worn out” nonstick—it’s a thin layer of cooked-on oil/sugar. A careful warm wipe-down routine usually restores easy release.
Topping Ideas That Don’t Get Messy
Common Problems and Simple Fixes
A Simple Pick for Fast Homemade Batches
For a compact countertop option designed for mini donuts with a nonstick surface, see the Nonstick Mini Donut Maker Machine for Homemade Treats. Price and availability can change; check the product page for current details and stock.
FAQ
Do mini donut makers make fried donuts?
No—mini donut makers produce baked, cake-style donuts. They’re softer and more tender than yeast-raised fried donuts, but you can boost “shop-style” flavor with butter in the batter and a glaze or cinnamon sugar finish.
Do the plates need to be greased if they’re nonstick?
Light greasing helps, especially on first use or when you notice release getting less clean. Use a small amount of oil or butter (not metal tools) and keep the plates wiped free of residue so the nonstick surface performs its best.
How do you keep mini donuts from getting soggy after glazing?
Cool donuts on a rack before glazing, then use a thicker glaze and let excess drip off on the rack until set. Store only after they’re fully cooled so steam doesn’t soften the coating.
Recommended for you










Leave a comment