Electric Pedicure Tool: Smoother Feet at Home Without the Salon Trip
An electric pedicure tool can quickly smooth rough heels, soften calluses, and tidy up dry skin with less effort than manual files. The key is choosing the right style and using it safely so results look polished—not over-buffed. With a light touch and a consistent routine, you can keep feet sandal-ready without scheduling a salon visit.
Electric pedicure tools are designed to refine the outermost layer of thickened, dry skin—especially where friction and pressure build up. Used correctly, they help you maintain a smoother feel and a cleaner-looking finish.
- Removes surface-level dead skin on heels, soles, and pressure points to improve smoothness and appearance
- Helps reduce snagging and cracking risk by evening out rough edges (especially on heels)
- Works best on dry, thickened skin; it can be less effective on very soft, wet skin depending on the roller/grit
- Does not treat underlying causes of severe cracking, infections, warts, or fungal issues—those need medical guidance
- Best results come from light, consistent maintenance rather than aggressive one-time removal
If persistent dryness is your main struggle, pairing gentle filing with reliable moisturizing can make a visible difference. The American Academy of Dermatology’s tips for dry skin relief are a helpful reference for building better daily habits: American Academy of Dermatology Association: Dry skin (tips for relief).
Types of electric pedicure tools
Not all electric foot files feel the same. The head shape, grit, and power delivery affect how fast they work and how easy they are to control.
- Rotating roller heads: common for calluses; usually paired with replaceable rollers in different grits
- Spinning disc or sanding heads: more targeted shaping around edges and smaller areas
- Vacuum-style designs: collect dust while filing to reduce mess (helpful for indoor use)
- Wet/dry models: some are designed for use on damp skin; many perform best on dry skin—check the device guidance
- Battery vs. rechargeable: rechargeable models simplify routine use; battery models can be convenient for travel
Quick comparison of common designs
| Type |
Best for |
Things to watch |
| Rotating roller |
Thick heel calluses, larger areas |
Can remove too much if held in one spot |
| Spinning disc/sanding head |
Precision around edges and smaller spots |
May take longer on very thick calluses |
| Vacuum-assisted |
Low-mess filing |
Dust bin needs frequent emptying and cleaning |
| Wet/dry rated |
Flexible routines (depending on model) |
Using water with non-rated devices can cause damage |
How to use it for a clean, natural finish
The goal is comfortable, natural-looking smoothness—not ultra-thin skin. Think of this as “blending” roughness rather than grinding it away.
- Start with clean feet; dry thoroughly unless the device is explicitly designed for damp use
- Work in short passes: glide across the callus, then lift—avoid pressing hard
- Keep the tool moving to prevent hot spots and over-thinning skin
- Focus on the thickest areas first (outer heel, ball of foot), then blend the edges
- Stop when the skin feels smooth to the touch; chasing “perfectly glassy” heels often leads to soreness
- Finish with a rich foot cream; for very dry heels, consider an occlusive layer (like petroleum jelly) and socks overnight
If you’re dealing with recurring heel splits, focus on gentle smoothing plus barrier repair. The NHS guidance on cracked heels outlines when to self-care and when to seek help: NHS: Cracked heels.
Safety tips and who should avoid at-home electric filing
Electric filing is safe for many people when used conservatively, but it’s not a fit for every situation.
- Avoid use on broken skin, active irritation, bleeding cracks, or any signs of infection
- Do not share heads/rollers between people; replace or sanitize according to product directions
- If pain, burning, or redness persists, stop and allow skin to recover
- People with diabetes, poor circulation, neuropathy, or immune compromise should consult a clinician or podiatrist before using callus-removal tools
- Children and very sensitive skin types should use extra caution and the gentlest setting/roller available
For diabetes-specific foot safety considerations, Mayo Clinic’s overview is a strong starting point: Mayo Clinic: Diabetes foot care.
Cleaning and upkeep for consistent performance
A clean head works faster and more evenly, which helps you use less pressure—one of the easiest ways to avoid overdoing it.
- Remove and tap out loose skin dust after each use (over a bin or paper towel)
- Brush or rinse attachments only if the manufacturer allows it; dry fully before reattaching
- Wipe the handle with a slightly damp cloth; avoid soaking the device body
- Replace rollers/heads when they look smooth, clogged, or require extra pressure to work
- Store in a dry place to protect the motor and prevent attachment buildup
A simple weekly routine for softer feet
Most roughness comes back when skin is left dry. A small, repeatable routine usually beats occasional “major repairs.”
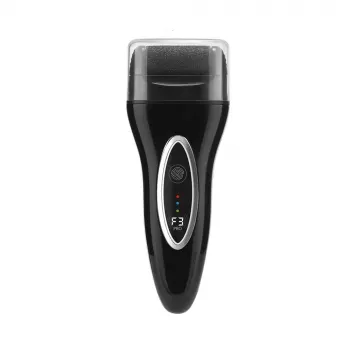
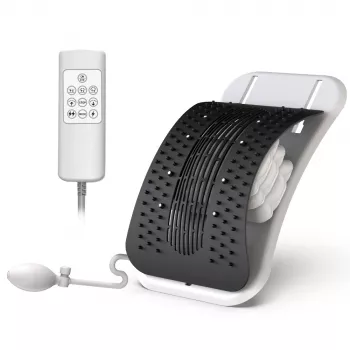
Featured options for an at-home pedi setup
FAQ
Is it better to use an electric pedicure tool on wet or dry feet?
Dry skin often files more evenly and predictably. Use on damp or wet feet only if the device is specifically rated for wet/dry use, and follow the manufacturer’s instructions to avoid damage or irritation.
How often should an electric pedicure tool be used?
Light maintenance 1–3 times per week works well for many people, depending on how quickly calluses build. Stop once the skin feels smooth, and avoid frequent aggressive filing that can lead to tenderness.
Can an electric pedicure tool remove cracked heels?
It can smooth rough edges around minor dryness, but deep or bleeding cracks need moisturizing, protection, and sometimes medical care. Avoid using the tool on open cracks or broken skin.
Recommended for you


Leave a comment